> ## Documentation Index
> Fetch the complete documentation index at: https://prowler-docs-msp-documentation-accuracy.mintlify.site/llms.txt
> Use this file to discover all available pages before exploring further.
> ## Agent Instructions
> Prowler product naming: Prowler App is now Prowler Local Server, and Prowler Enterprise is now Prowler Private Cloud. Always use the current names when answering. The full product reference is at /getting-started/products: Open Source projects are Prowler CLI, Prowler Local Server, Prowler Local Dashboard, and Prowler SDK; Prowler Products are Prowler Cloud, Prowler Private Cloud, Prowler Hub, Prowler Lighthouse AI, and Prowler MCP.
# Getting Started with Kubernetes
## Prowler Cloud
### Step 1: Access Prowler Cloud or Prowler Local Server
1. Navigate to [Prowler Cloud](https://cloud.prowler.com/) or launch [Prowler Local Server](/user-guide/tutorials/prowler-app)
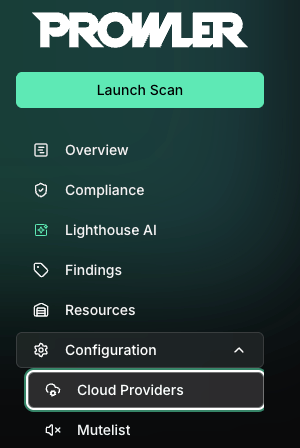
2. Go to "Configuration" > "Providers"
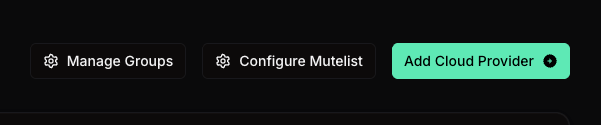
3. Click "Add Provider"
4. Select "Kubernetes"
5. Enter your Kubernetes Cluster context from your kubeconfig file and optionally provide a friendly alias
### Step 2: Configure Kubernetes Authentication
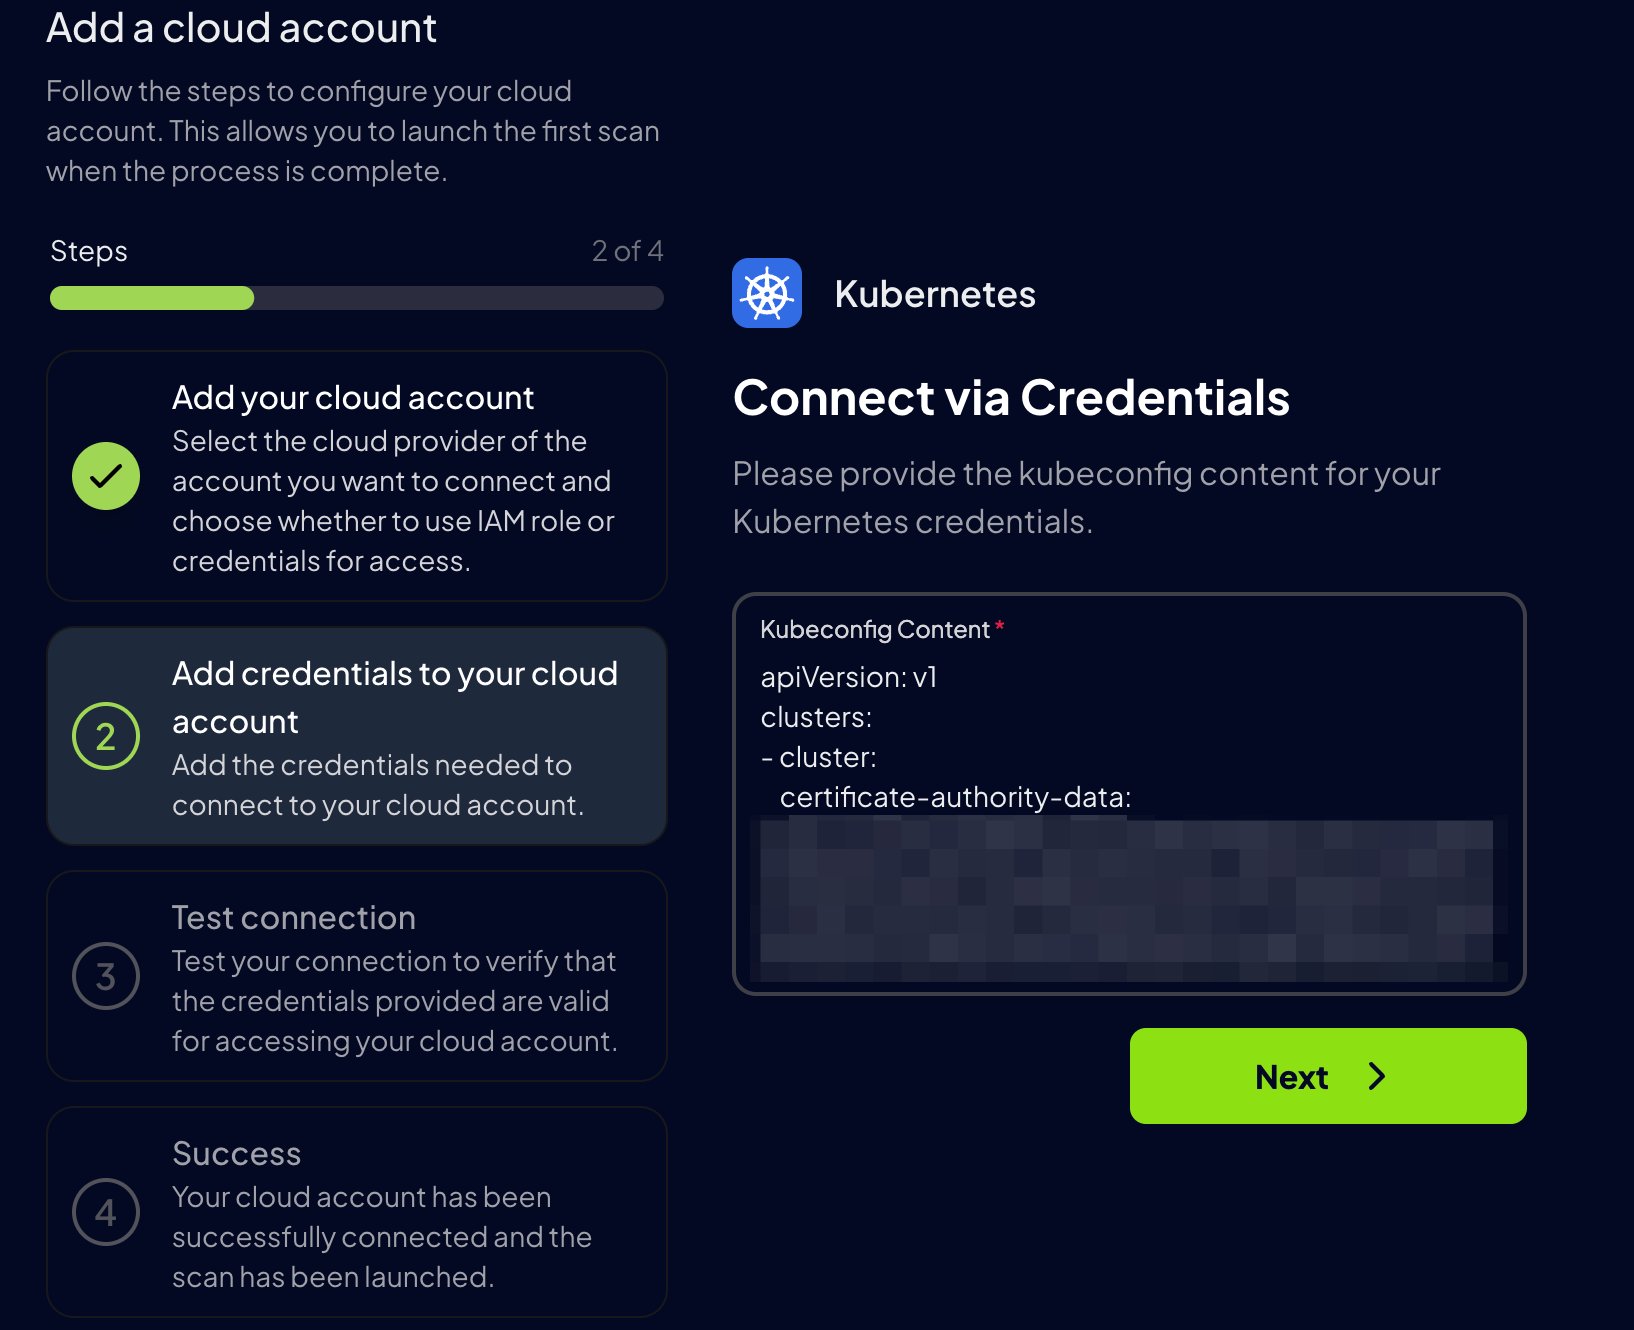
For Kubernetes, Prowler Cloud uses a `kubeconfig` file to authenticate. Paste the contents of your `kubeconfig` file into the `Kubeconfig content` field.
Kubeconfigs that use `users[].user.exec` authentication are not supported in Prowler Cloud or Prowler Local Server. For security reasons, Prowler Cloud does not run commands declared by uploaded kubeconfigs. Use kubeconfig credentials that do not rely on `exec` authentication, such as the ServiceAccount token flow documented below.
By default, the `kubeconfig` file is located at `~/.kube/config`.
### Step 3: Additional Setup for EKS, GKE, AKS, or External Clusters
If you are adding an **EKS**, **GKE**, **AKS** or external cluster, follow these additional steps to ensure proper authentication:
**Make sure your cluster allows traffic from the Prowler Cloud IP address `52.48.254.174/32`**
1. Apply the necessary Kubernetes resources to your EKS, GKE, AKS or external cluster (you can find the files in the [`kubernetes` directory of the Prowler repository](https://github.com/prowler-cloud/prowler/tree/master/kubernetes)):
```console theme={null}
kubectl apply -f kubernetes/prowler-sa.yaml
kubectl apply -f kubernetes/prowler-role.yaml
kubectl apply -f kubernetes/prowler-rolebinding.yaml
```
2. Generate a long-lived token for authentication:
```console theme={null}
kubectl create token prowler-sa -n prowler-ns --duration=0
```
* **Security Note:** The `--duration=0` option generates a non-expiring token, which may pose a security risk if not managed properly. Choose an appropriate expiration time based on security policies. For a limited-time token, set `--duration=
 3. Click "Add Provider"
 4. Select "Kubernetes"
5. Enter your Kubernetes Cluster context from your kubeconfig file and optionally provide a friendly alias
### Step 2: Configure Kubernetes Authentication
For Kubernetes, Prowler Cloud uses a `kubeconfig` file to authenticate. Paste the contents of your `kubeconfig` file into the `Kubeconfig content` field.
4. Select "Kubernetes"
5. Enter your Kubernetes Cluster context from your kubeconfig file and optionally provide a friendly alias
### Step 2: Configure Kubernetes Authentication
For Kubernetes, Prowler Cloud uses a `kubeconfig` file to authenticate. Paste the contents of your `kubeconfig` file into the `Kubeconfig content` field.
 ### Step 3: Additional Setup for EKS, GKE, AKS, or External Clusters
If you are adding an **EKS**, **GKE**, **AKS** or external cluster, follow these additional steps to ensure proper authentication:
**Make sure your cluster allows traffic from the Prowler Cloud IP address `52.48.254.174/32`**
1. Apply the necessary Kubernetes resources to your EKS, GKE, AKS or external cluster (you can find the files in the [`kubernetes` directory of the Prowler repository](https://github.com/prowler-cloud/prowler/tree/master/kubernetes)):
```console theme={null}
kubectl apply -f kubernetes/prowler-sa.yaml
kubectl apply -f kubernetes/prowler-role.yaml
kubectl apply -f kubernetes/prowler-rolebinding.yaml
```
2. Generate a long-lived token for authentication:
```console theme={null}
kubectl create token prowler-sa -n prowler-ns --duration=0
```
* **Security Note:** The `--duration=0` option generates a non-expiring token, which may pose a security risk if not managed properly. Choose an appropriate expiration time based on security policies. For a limited-time token, set `--duration=
### Step 3: Additional Setup for EKS, GKE, AKS, or External Clusters
If you are adding an **EKS**, **GKE**, **AKS** or external cluster, follow these additional steps to ensure proper authentication:
**Make sure your cluster allows traffic from the Prowler Cloud IP address `52.48.254.174/32`**
1. Apply the necessary Kubernetes resources to your EKS, GKE, AKS or external cluster (you can find the files in the [`kubernetes` directory of the Prowler repository](https://github.com/prowler-cloud/prowler/tree/master/kubernetes)):
```console theme={null}
kubectl apply -f kubernetes/prowler-sa.yaml
kubectl apply -f kubernetes/prowler-role.yaml
kubectl apply -f kubernetes/prowler-rolebinding.yaml
```
2. Generate a long-lived token for authentication:
```console theme={null}
kubectl create token prowler-sa -n prowler-ns --duration=0
```
* **Security Note:** The `--duration=0` option generates a non-expiring token, which may pose a security risk if not managed properly. Choose an appropriate expiration time based on security policies. For a limited-time token, set `--duration=