

 About Us
Upload a Logo
Open Settings → Branding, click Upload Logo, and pick your file. The logo replaces the placeholder in Settings immediately and a confirmation appears.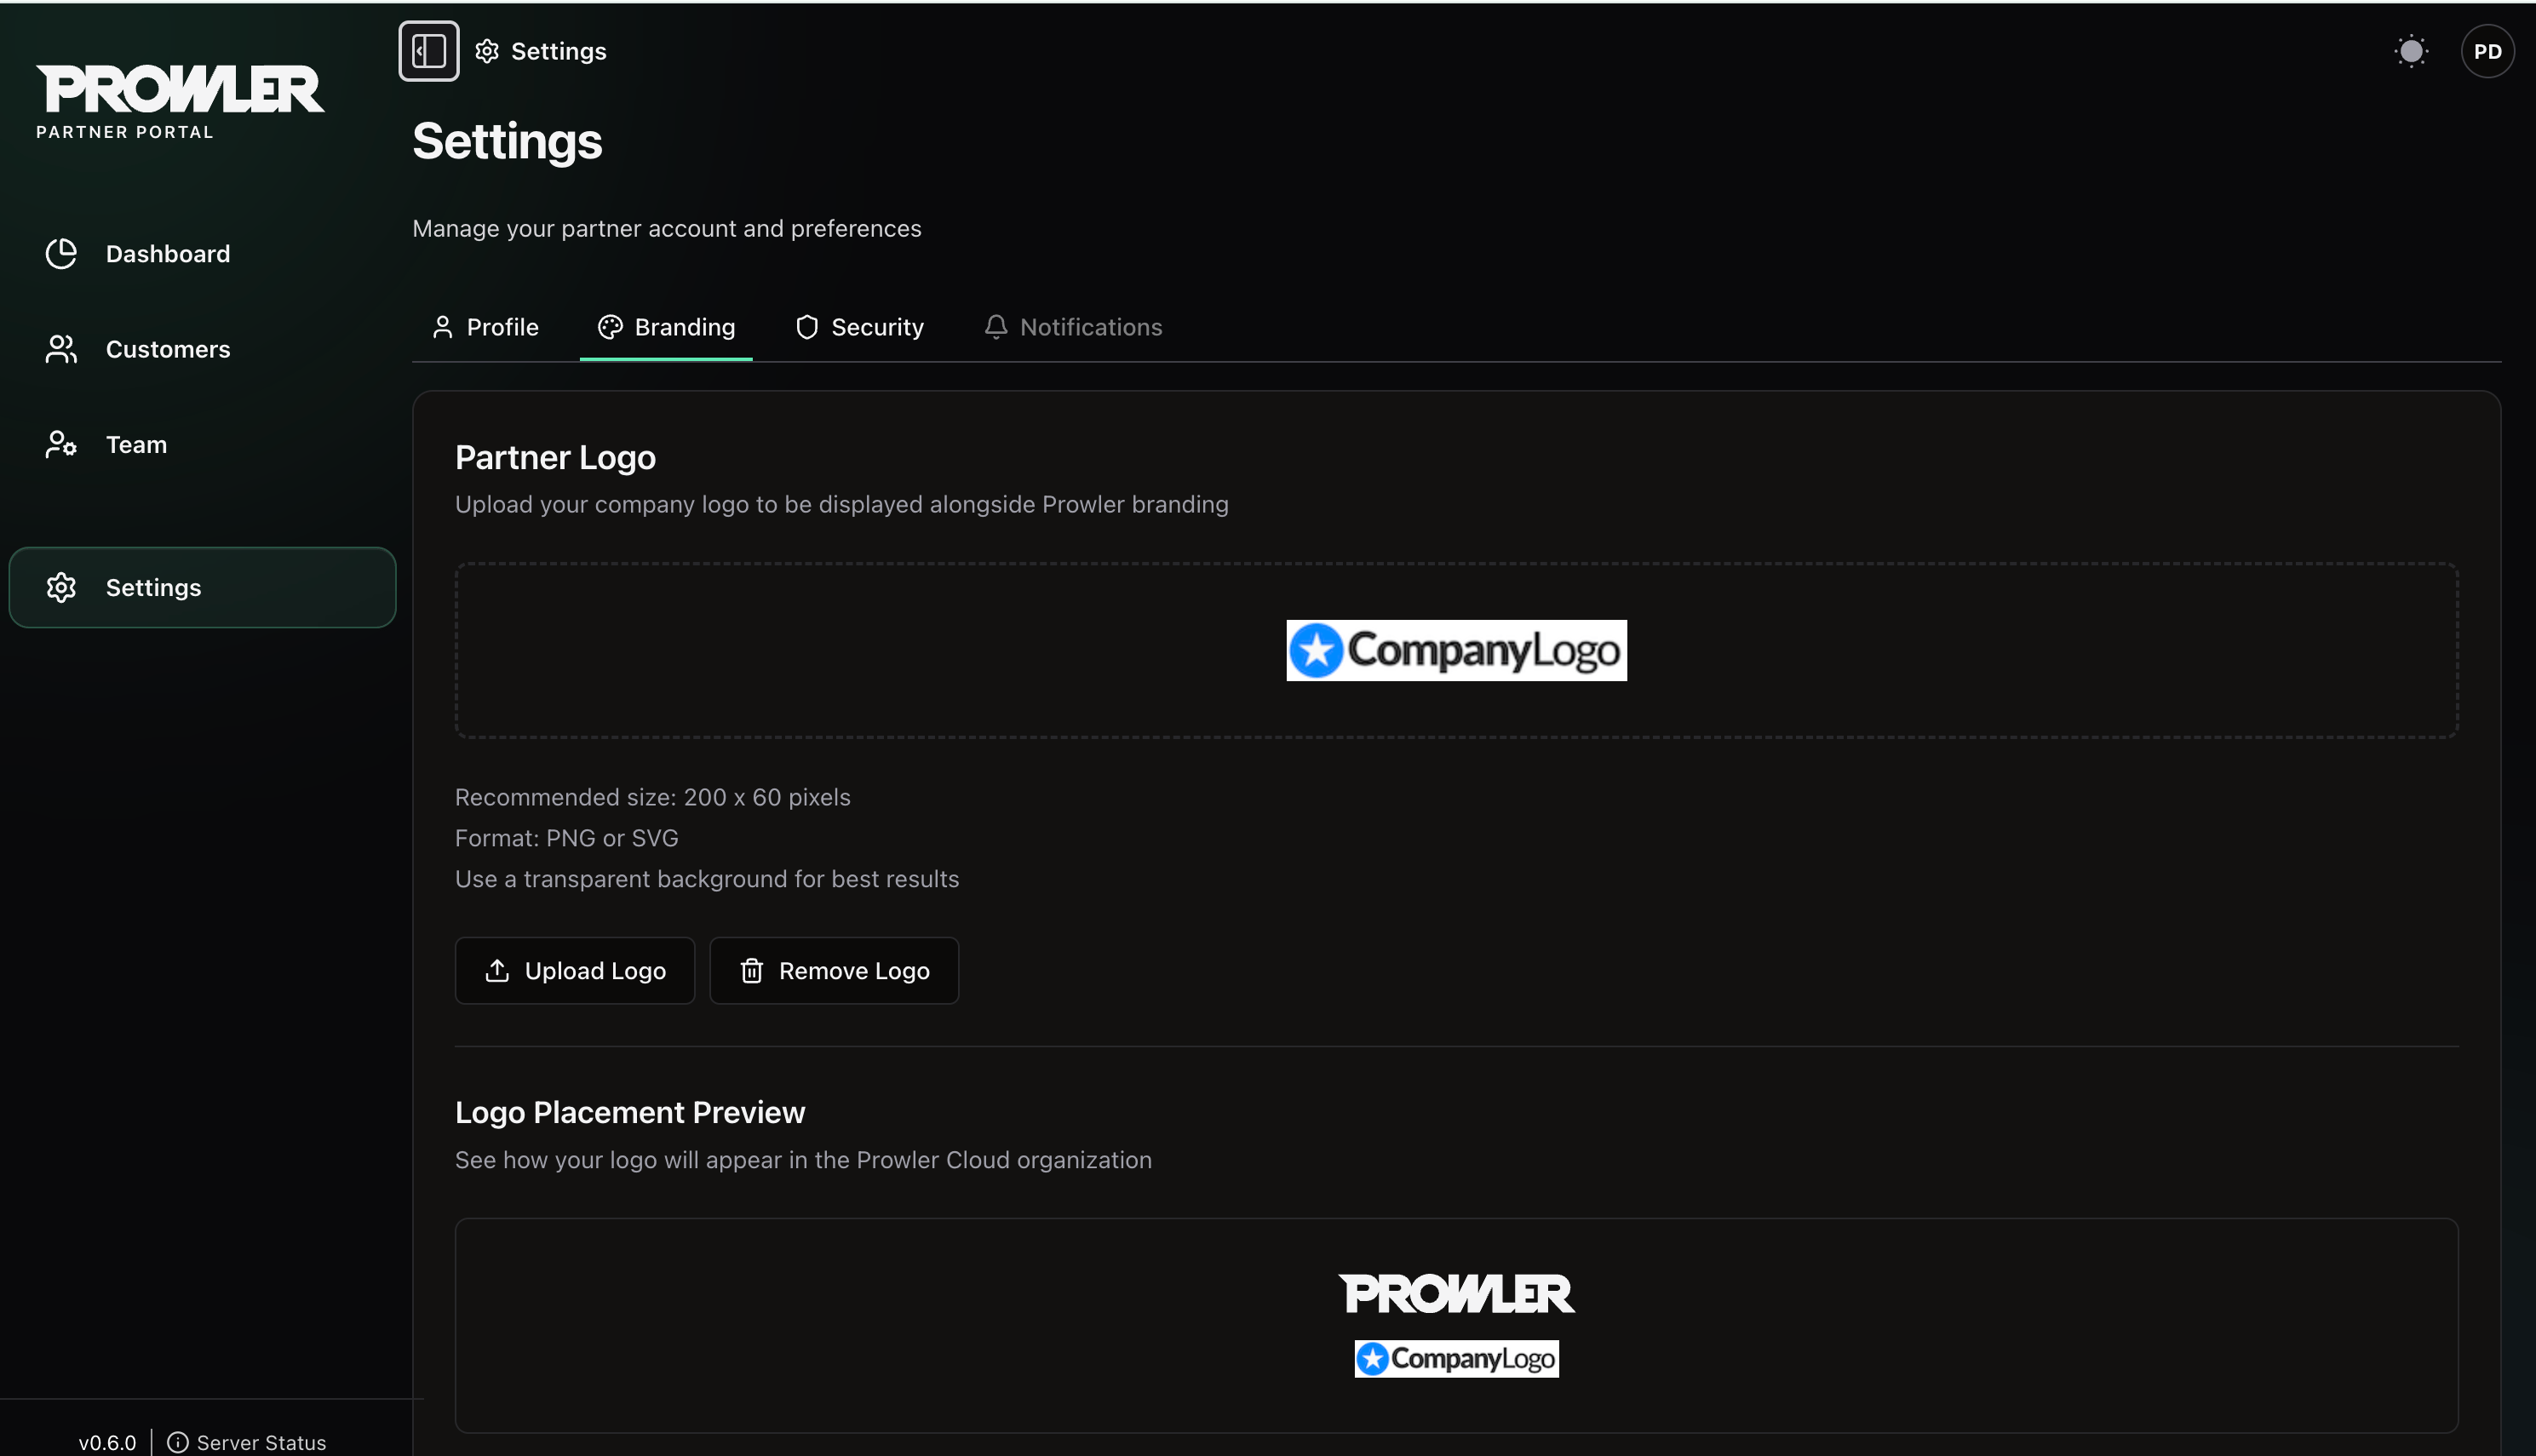
Logo Requirements
A wide, horizontal logo with a transparent background renders best. SVG stays crisp at every size, is not subject to the dimension limit, and is the better choice where you have it.
Uploaded SVG files are sanitized on the server. Scripts, external references and other active content are stripped before the file is stored.
Replace or Remove a Logo
Uploading a new file replaces the saved logo. Remove Logo deletes it and returns the Settings preview to the Your Logo placeholder.Logo Placement Preview
Below the upload controls, Logo Placement Preview renders your logo underneath the Prowler wordmark to show the intended placement. With no logo uploaded, the slot shows a Your Logo placeholder.The saved logo is currently displayed only in the upload area and placement preview on this Settings page. It is not applied elsewhere in Partner Portal, Prowler Cloud or customer reports.
Next Steps
Your Partner Organization
Lifecycle, settings, Partner Code and closing your organization.
Managing Your Team
Invite team members and assign roles.